> ## Documentation Index
> Fetch the complete documentation index at: https://docs.xeol.io/llms.txt
> Use this file to discover all available pages before exploring further.
# SSO
> Setup SSO for Xeol using Okta as the identity provider.
This document describes how to add SSO to Xeol using Okta as the identity provider. First, we setup a new app in Okta then share the Okta app connection details with the Xeol team.
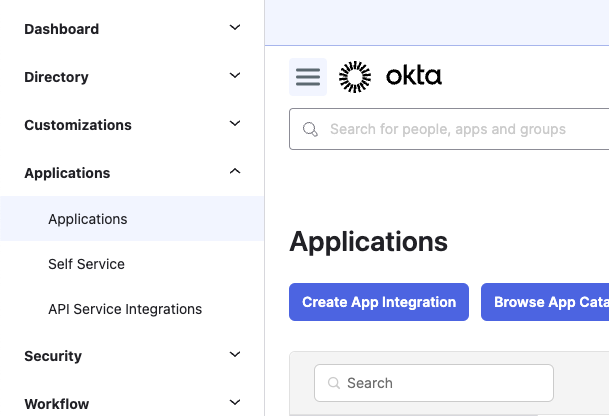
### Step 1
Login to your Okta dashboard and under applications click `Create App Integration`
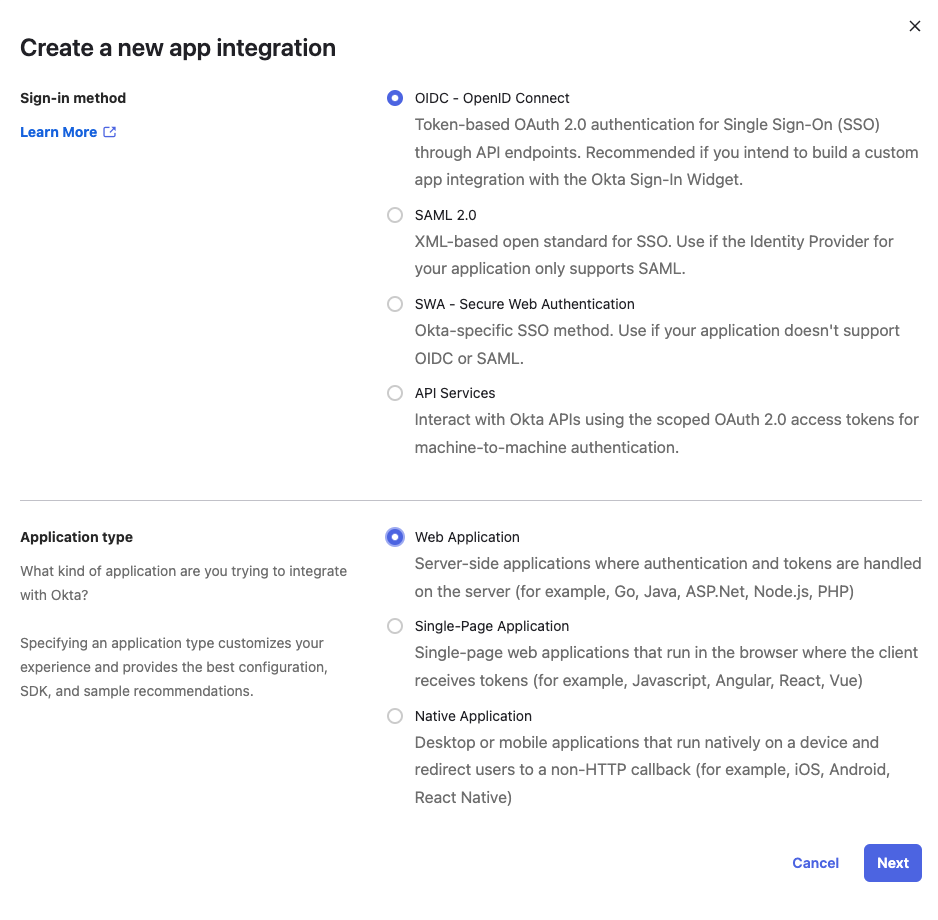
 A model will open up. Select `OIDC - OpenID Connect` and `Web Application` then click `Next`
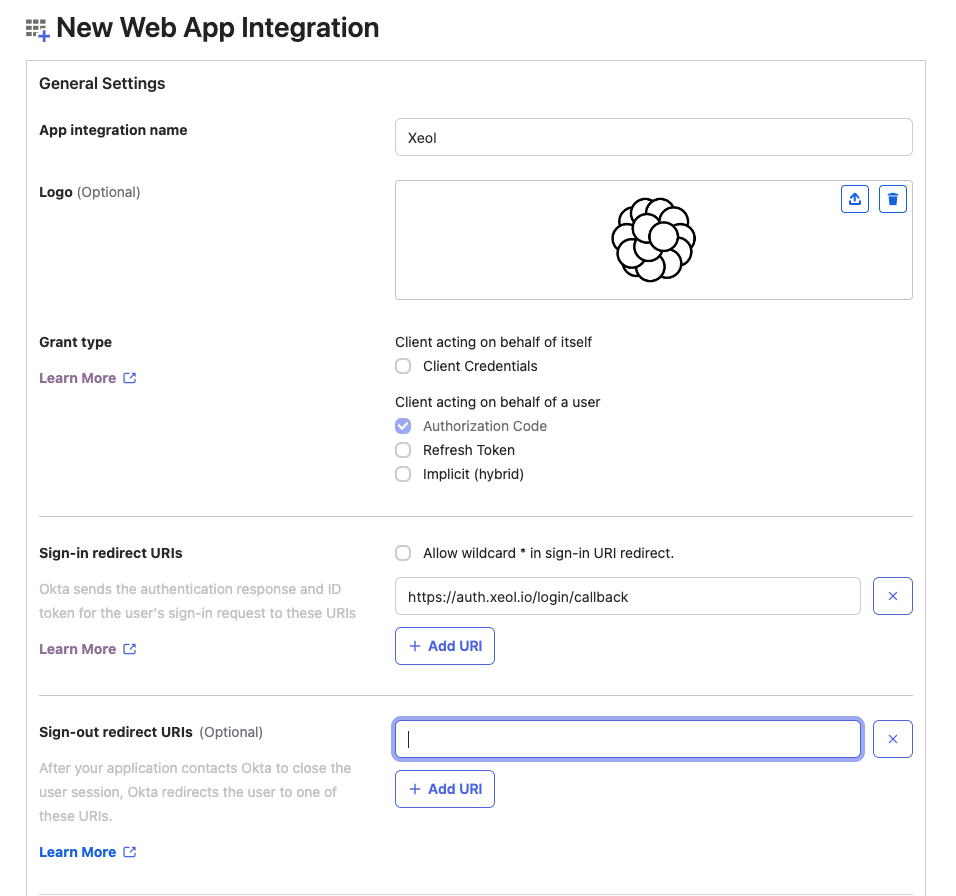
 ### Step 2
Setup the new app with the following settings
**Sign-in Redirect URIs:** `https://auth.xeol.io/login/callback`
**Logo:** `https://mintlify.s3-us-west-1.amazonaws.com/xeol/images/xeol-logo.png`
**Controlled Access:** Choose what's best for your organization
### Step 2
Setup the new app with the following settings
**Sign-in Redirect URIs:** `https://auth.xeol.io/login/callback`
**Logo:** `https://mintlify.s3-us-west-1.amazonaws.com/xeol/images/xeol-logo.png`
**Controlled Access:** Choose what's best for your organization
 Click `Save` and then open the applications settings.
### Step 3
Write down the `Client ID` and `Client secret` them share them with
the Xeol team.
You can assign the application to the users that need access from with Okta as usual.
We will connect SSO for your account and notify you when it's ready.
Click `Save` and then open the applications settings.
### Step 3
Write down the `Client ID` and `Client secret` them share them with
the Xeol team.
You can assign the application to the users that need access from with Okta as usual.
We will connect SSO for your account and notify you when it's ready.