Xeol Dashboard
Step 1: Get Access to the Xeol Dashboard
Sign up here. You should then receive an email invite to the Xeol dashboard.Step 2: Generate API key
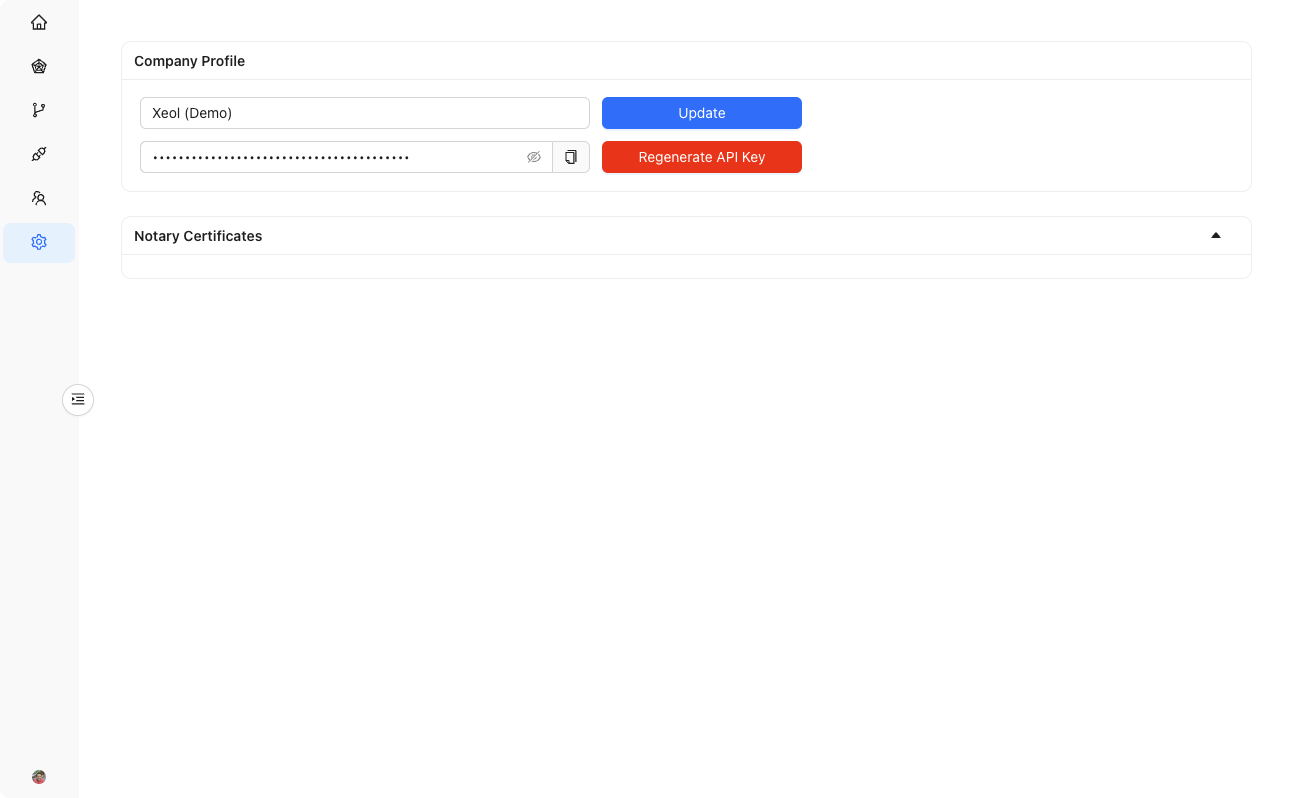
Under the Settings page, you will be able to generate an API Key.
Step 3: Add Xeol CLI to your CI
With your API key, you can now add Xeol to your CI system. After you build an image, you can scan it with Xeol like this:pipeline.yml
Step 4: Enforce policies
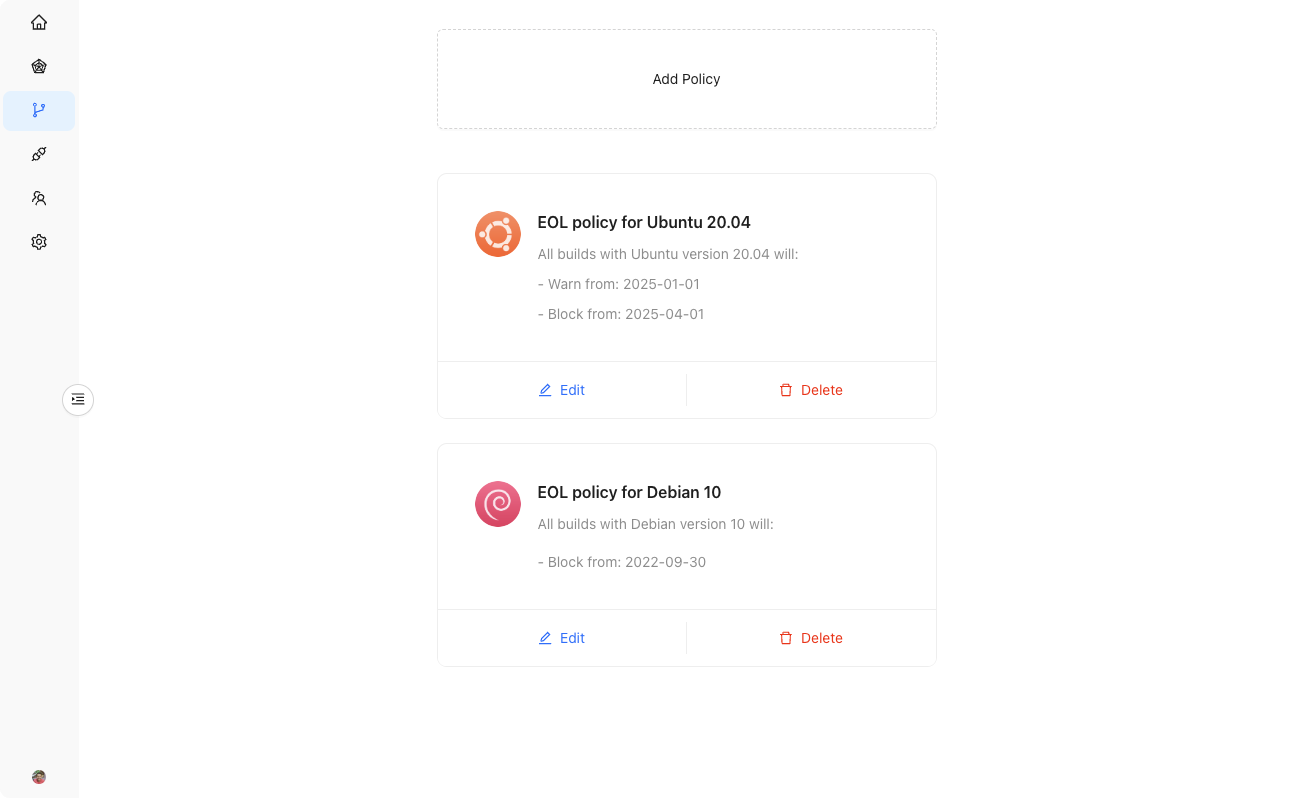
Now that you have data about your builds, you can create policies in the dashboard that are enforced at build time. You can set security policies towarn or deny on any software within your image:
warnpolicy will show a warning sentence in the pipeline but not fail it.denypolicy exit the build with a non-zero exit code and fail the pipeline.
